What you’ll build
- A LangGraph agent (TypeScript or Python) that streams messages and tool calls.
- The same agent connected to CometChat via Agent ID + Deployment URL.
- A customized chat experience using UI Kit Builder.
- An export to React UI Kit code or Chat Widget, plus reference demos (knowledge + Product Hunt).
- A streaming contract:
text_start→text_delta→tool_call_start/args/end(+tool_result) →text_end→done(+error), carryingmessage_idand optionalthread_id/run_id.
Prerequisites
- A CometChat account and an app: Create App
- A LangGraph endpoint that streams responses (SSE or NDJSON). Examples live in ai-agent-lang-graph-examples for both TypeScript and Python.
- Node.js 18+ (for TypeScript examples) or Python 3.10+ (for Python examples).
OPENAI_API_KEY; optional model overrides: TypeScript (KNOWLEDGE_OPENAI_MODEL,PRODUCT_OPENAI_MODEL), Python (MODEL).
Step 1 - Create your CometChat app
Create or open an app
Sign in at app.cometchat.com. Create a new app or open an existing one.
Step 2 - Connect your LangGraph agent
Navigate to AI Agent → BYO Agents and then Get Started / Integrate.Basic details
Provide:
- Name and optional Icon
- (Optional) Greeting and Introductory Message
- (Optional) Suggested messages
LangGraph configuration
Paste/define:
- Agent ID — unique handle you will route to (e.g.,
supportorlaunch). - Deployment URL — public HTTPS endpoint that wraps your LangGraph stream.
- (Optional) Headers — JSON auth headers your service expects.
Step 3 - Define Frontend Actions (Optional)
Add an action
Go to AI Agent → Actions and click Add to create a frontend action the agent can call (e.g., “Open Product,” “Start Demo,” “Book Slot”).
Define fields
Include:
- Display Name
- Execution Text — how the agent should describe running it.
- Name — code-friendly key (e.g.,
open_product). - Description — when to trigger the action.
- Parameters — JSON Schema inputs (the agent will populate these).
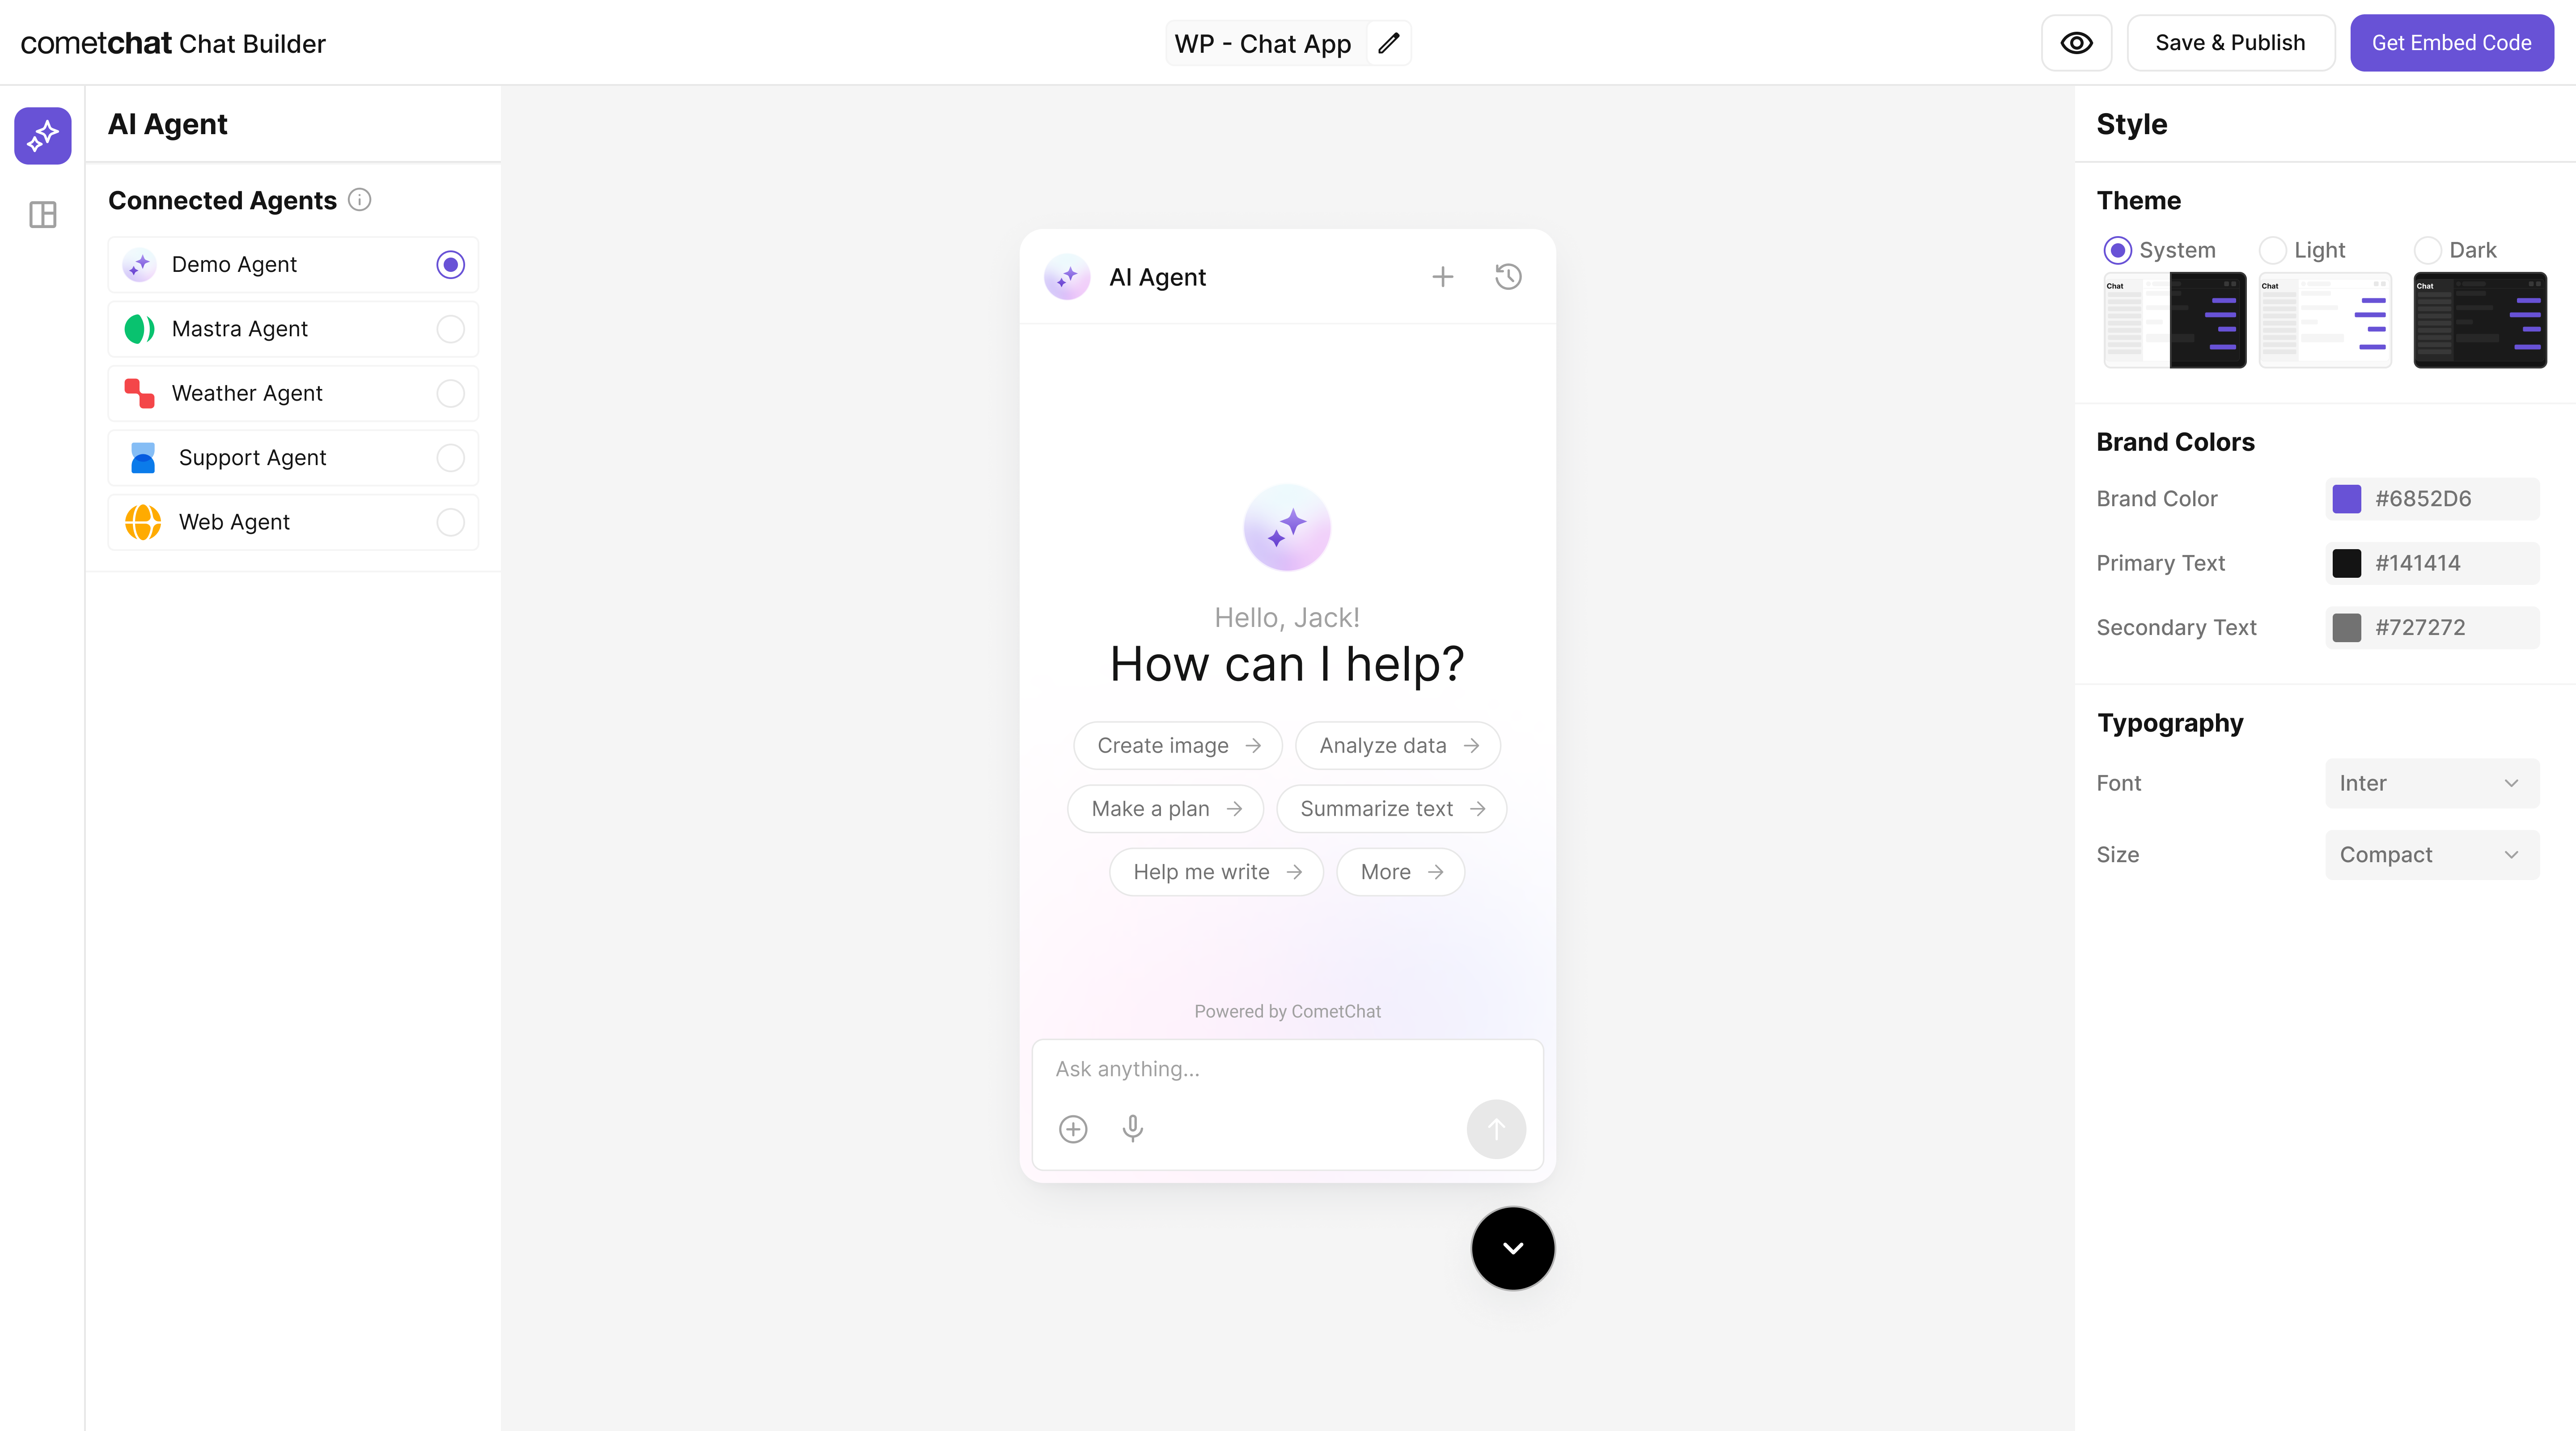
Step 4 - Customize in UI Kit Builder
Step 5 - Export & Integrate
Choose how you’ll ship the experience (Widget or React UI Kit export).Widget Builder
React UI Kit
Pre Built UI Components
The LangGraph agent from Step 2 is included automatically in exported variants—no extra config needed for basic conversations.
Decide delivery mode
Pick Chat Widget (fastest) or export React UI Kit for code-level customization.